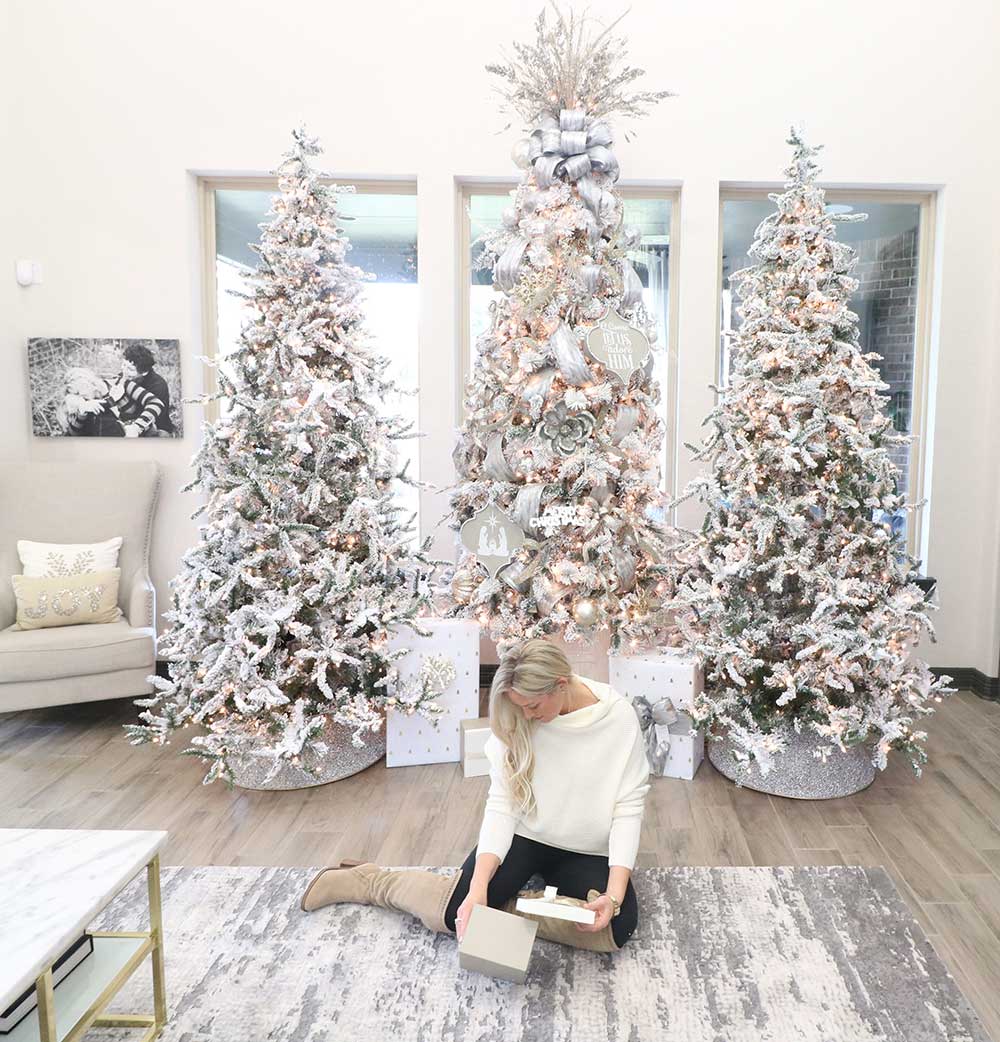
Decorating your Christmas tree is one of the most cherished traditions of the holiday season. Whether you’re aiming for a beautiful Christmas tree that looks like it belongs in a magazine or a cozy, family-friendly design, this guide will help you achieve a stunning result. With the latest Christmas tree ideas for 2025, expert tips, and creative inspiration, you’ll learn how to decorate a Christmas tree like a pro and make it the centerpiece of your holiday decor.
Step 1: Choose the Right Tree for Your Style and Space
The foundation of a perfectly decorated tree starts with the tree itself. Whether you prefer the natural charm of a real pine tree or the convenience of an artificial Christmas tree, make sure it fits your space and theme. For 2025, pre-lit Christmas trees are trending, offering a hassle-free way to start decorating. If you’re short on space, consider a slim or mini tree, which can still be styled beautifully.
For a sustainable option, tree rentals are gaining popularity this year, allowing you to enjoy a live tree without the waste. Alternatively, fiber optic trees are making a comeback, offering a modern twist with their glowing, color-changing lights.
Shop Trees And Collars

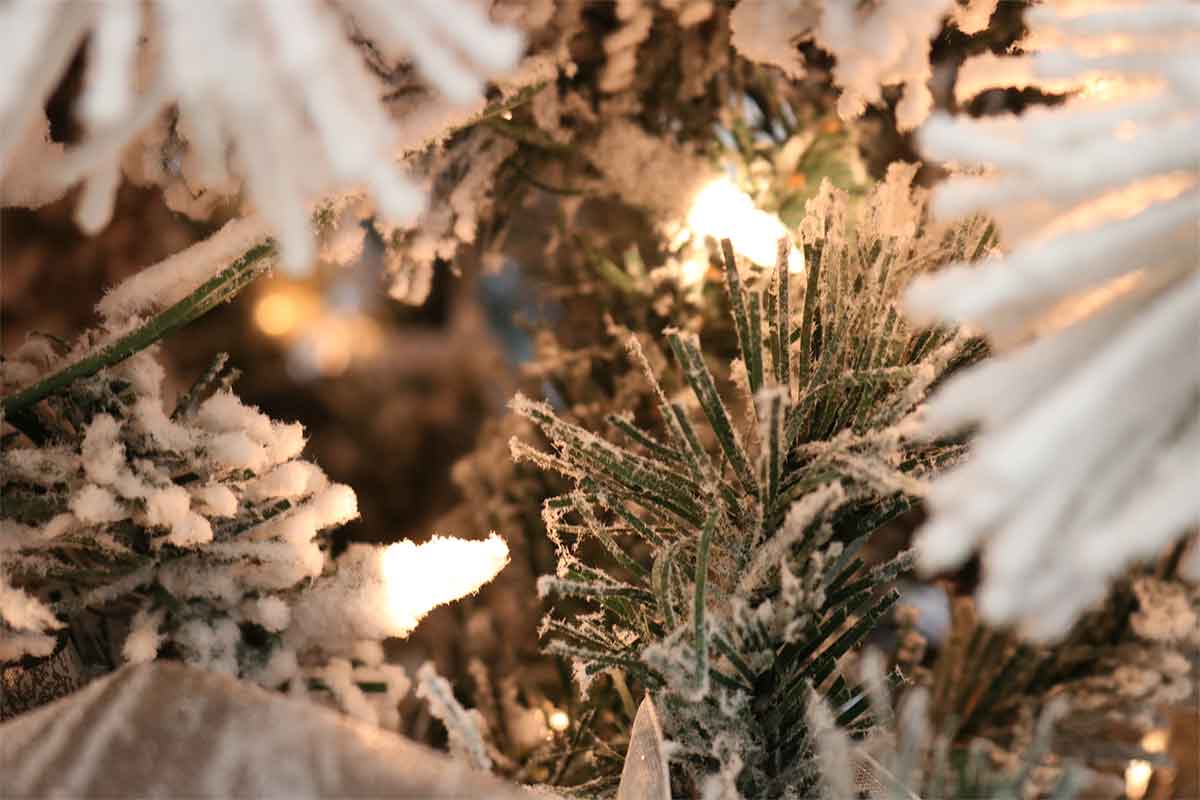
Step 2: Layer Your Lights for a Beautiful Glow
Lighting is the key to creating a beautiful Christmas tree. Start by wrapping lights around the trunk and working outward to the tips of the branches. This technique ensures even coverage and adds depth to your tree. For a timeless look, use warm white lights, or embrace the Christmas tree ideas for 2025 by incorporating colorful or twinkling lights for a playful, festive vibe.
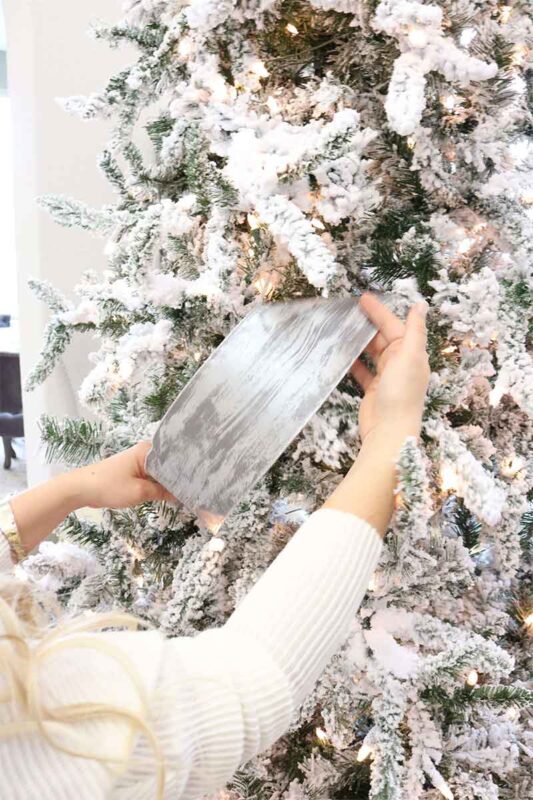
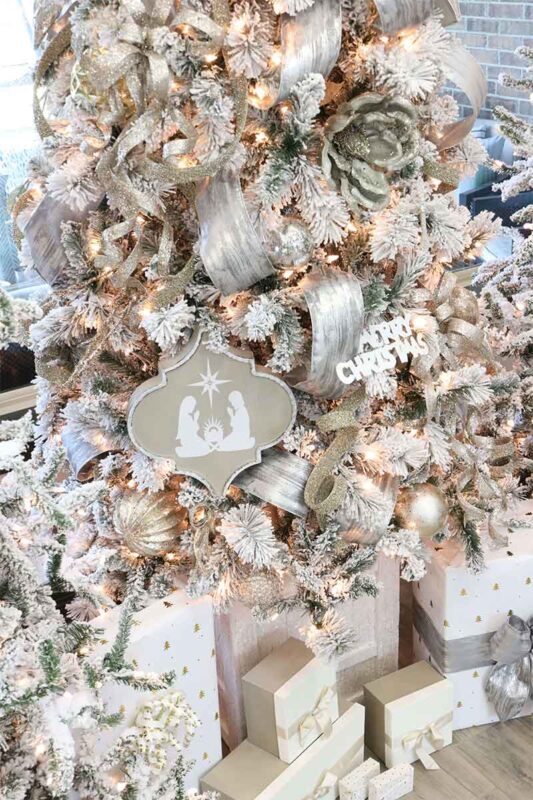
Step 3: Add Ribbon or Garland for Texture
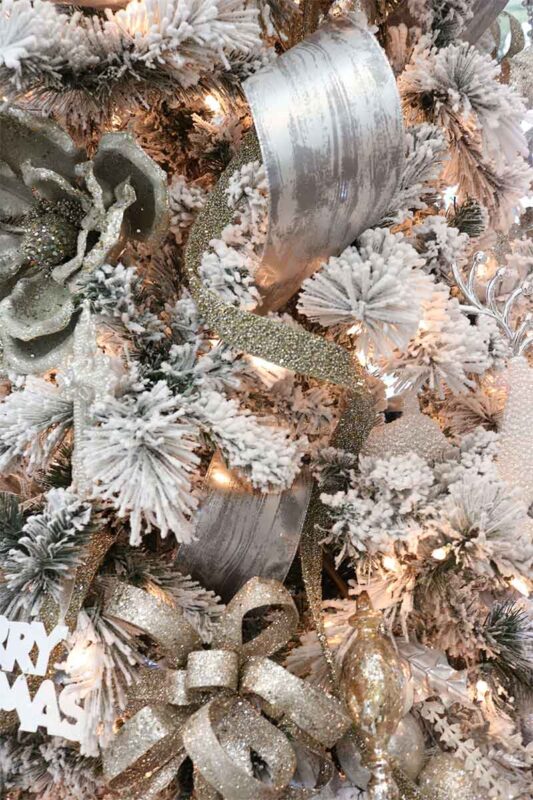
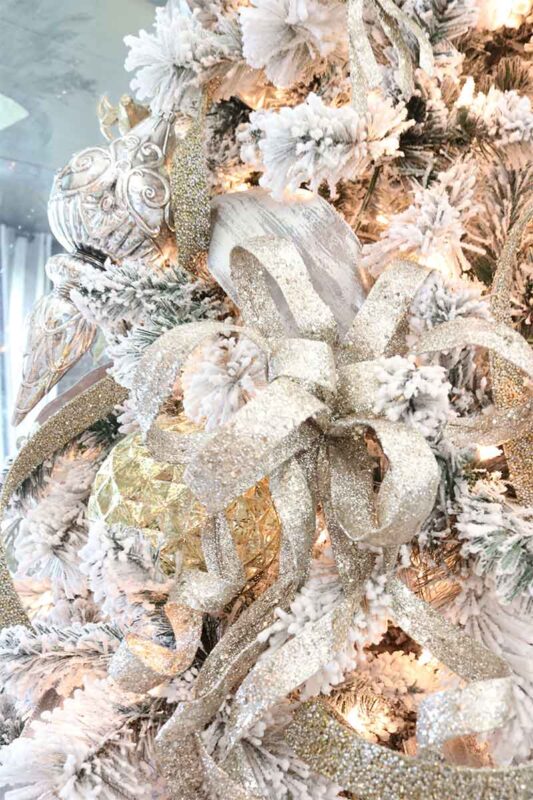
Ribbons and garlands are essential for adding texture and elegance to your tree. Choose materials that complement your theme, such as velvet, burlap, or metallics. For a modern look, try cascading ribbons vertically down the tree. If you’re feeling bold, oversized garlands or even balloon garlands are trending this year, offering a unique and dramatic effect.


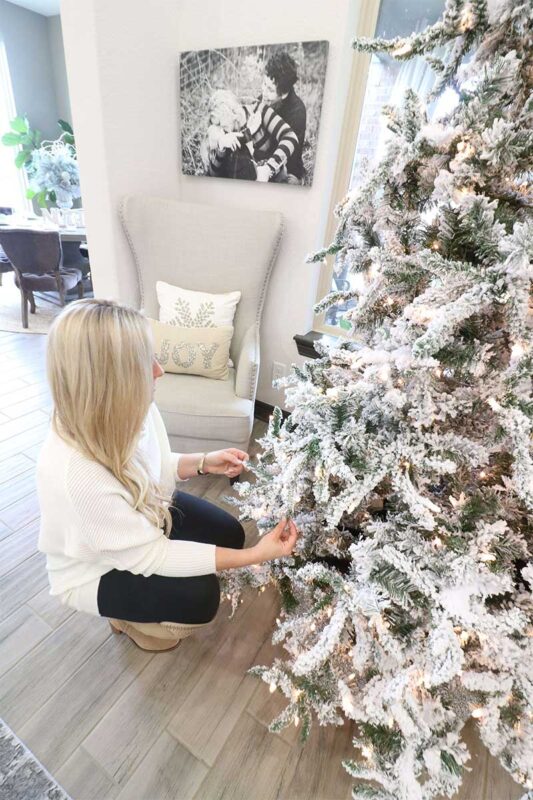
Step 4: Hang Ornaments Strategically
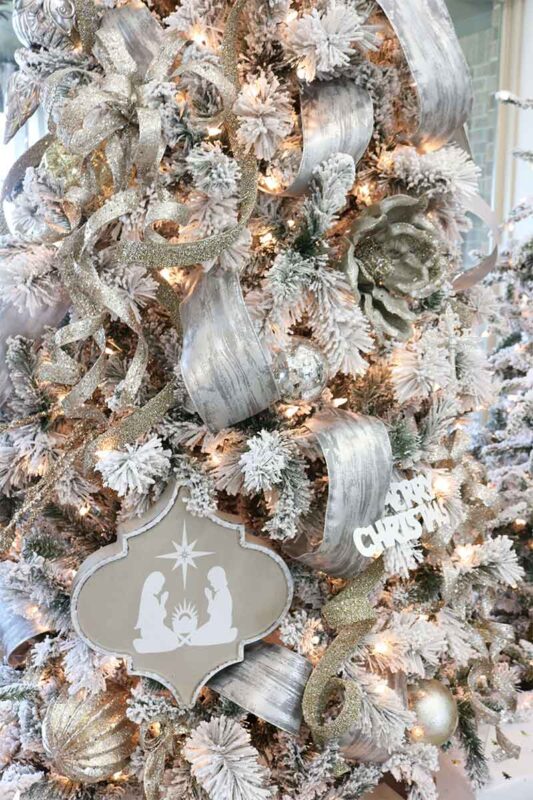
When it comes to ornaments and decorations, variety is key. Use a mix of ball ornaments, glass ornaments, and unique pieces to add interest. Start with larger ornaments to fill gaps, then layer smaller ones for balance. Don’t forget to hang some ornaments closer to the trunk to create depth. For 2025, oversized baubles and giant ornaments are a must-have trend, adding drama and flair to your tree.
Minimalist designs are also gaining traction, with some opting for a no-ornament tree or using simple bows for a clean, elegant look. If you prefer a more traditional style, red, white, and gold themes remain timeless and popular.
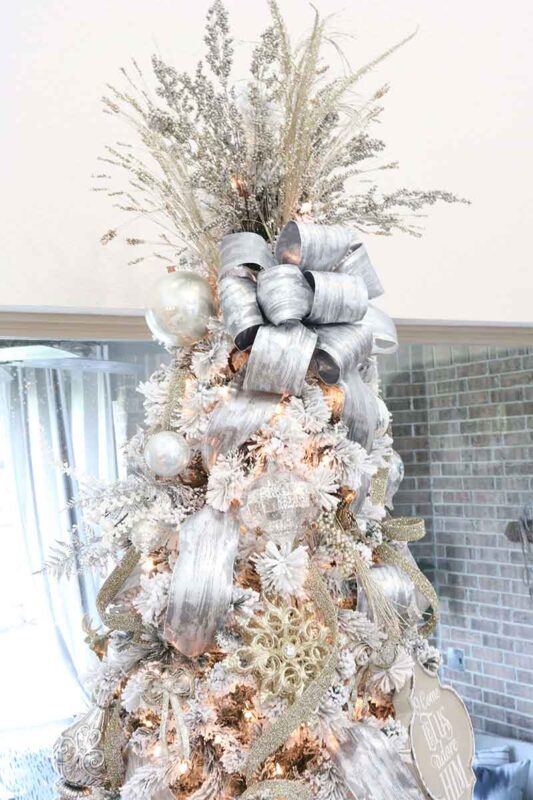
Step 5: Top It Off with a Statement Tree Topper
The tree topper is the finishing touch that ties your design together. Whether you choose a classic star, angel, or something more modern, make sure it complements your overall theme. For a unique twist, consider using a cluster of oversized ornaments or a bow as your topper.
Step 6: Add a Tree Skirt or Collar
Complete the look with a tree skirt or collar that complements your decor. This not only hides the tree stand but also adds a polished, cohesive feel to your display. For 2025, natural materials like woven baskets or faux fur collars are trending, adding warmth and texture to your tree.
Christmas Tree Ideas for 2025
Looking for fresh inspiration on how to decorate a Christmas tree? Here are some of the top Christmas tree ideas for 2025:
- Minimalist Elegance: Skip the ornaments and focus on delicate bows or simple lighting for a clean, modern look.
- Rustic Charm: Incorporate natural elements like pinecones, wooden ornaments, and burlap garlands for a cozy, rustic feel.
- Bold and Bright: Use vibrant colors like pink, teal, and purple for a playful, modern aesthetic.
- Sustainable Style: Opt for a rental tree or a faux tree made from recycled materials to embrace eco-friendly decorating.
- Oversized Drama: Add giant baubles and oversized nutcrackers for a bold, statement-making tree.
Tips for a Stress-Free Decorating Experience
- Plan Ahead: Decide on your theme and gather all your supplies before you start.
- Curated Collections: Invest in high-quality ornaments and decorations that you can reuse year after year.
- Christmas Lighting: Test your lights before hanging them to avoid frustration.
By following these Christmas tree decorating ideas, you’ll create a tree that’s not only beautiful but also reflects your personal style. Whether you’re decorating for a cozy family gathering or a glamorous holiday party, these tips will show you how to decorate a Christmas tree like a pro and achieve a look that will wow your guests.
More Holiday Inspiration
- How to Decorate Your Christmas Garland
- Christmas Table Setting
- Christmas Charcuterie Board
- What is Your Christmas Decorating Style
- Creative Christmas Gift Wrapping Ideas
- Styling Small Spaces for Christmas
- How To Host A Stress-Free Holiday Party
- How to Organize and Store Christmas Decorations
Shop Decor
Shop Ribbons, Picks, & Garland

Shop My Living Room
Thoughts?
YOUR COMMENT